Understanding the Foundation: What is Underlayment and Why is it Important?
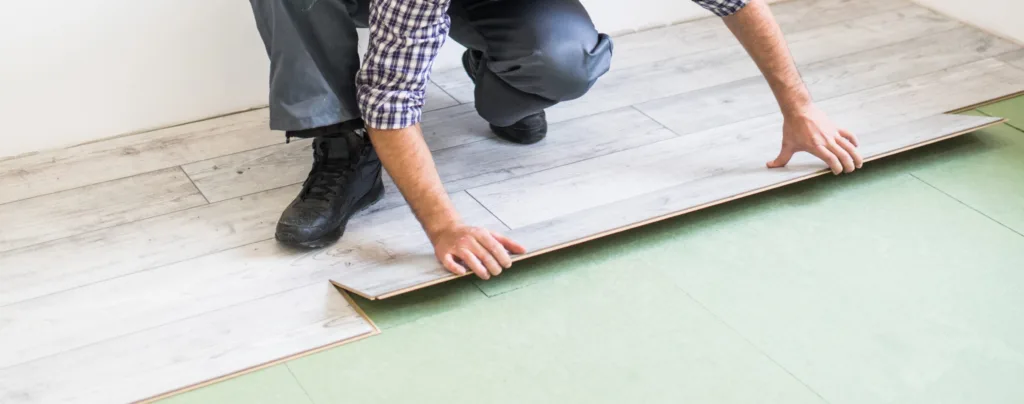
Underlayment is a thin layer of material that plays a crucial role in the installation of laminate flooring. It’s placed between the subfloor and the laminate flooring and serves multiple purposes, including providing a smooth and stable surface, reducing noise transmission, and acting as a moisture barrier. It plays a vital role in the overall performance and longevity of your laminate flooring. As a result, choosing the right underlayment is an essential consideration for homeowners and flooring pros alike.
The Essential Tools and Materials: Setting Yourself Up for Success
To ensure a successful underlayment installation, you’ll need a few essential tools and materials. Firstly, start with a clean and dry subfloor, free from any debris or moisture. Next, gather the necessary supplies, including underlayment rolls, utility knives, tape measure, and duct tape. Additionally, consider investing in a foam roller or laminate flooring kit for easy and efficient installation. With the right tools and materials, you’ll be well-equipped to tackle the underlayment installation process.
Finding the Perfect Match: Matching Underlayment to Your Flooring Needs
Choosing the right underlayment requires careful consideration of your specific flooring needs. Different types of underlayment offer various benefits. If noise reduction is a priority, opt for underlayment with soundproofing properties. For areas prone to moisture, such as basements or bathrooms, select an underlayment with built-in vapor barriers to protect your laminate flooring. Additionally, take into account the thickness and density of the underlayment to ensure optimal comfort and stability.
Step-by-Step Success: Installing Underlayment like a Pro
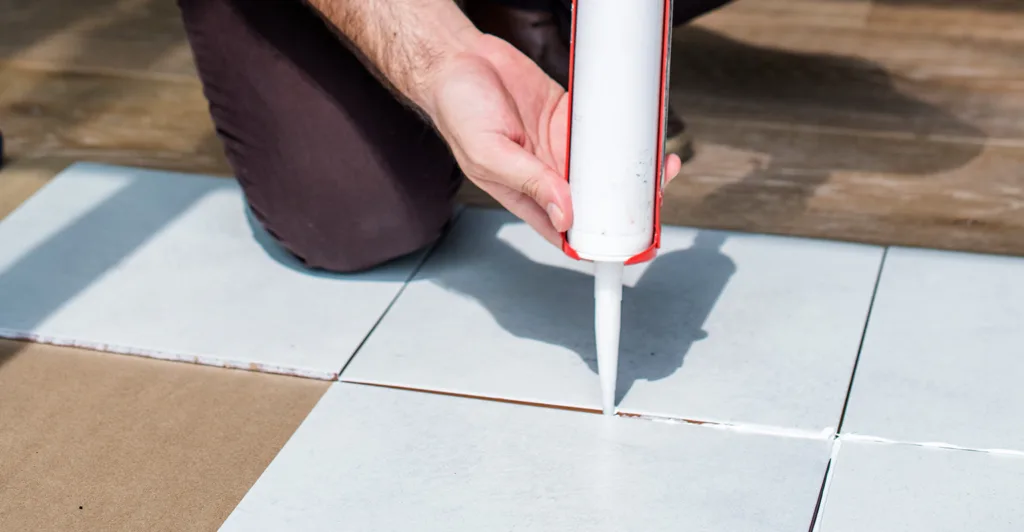
Installing underlayment can seem like a daunting task, but with the right approach, it can be done like a pro. Follow these step-by-step instructions to achieve professional results. Start by rolling out the underlayment across the subfloor, ensuring that the edges overlap by a few inches. Trim any excess material with a utility knife and secure the underlayment in place with duct tape, ensuring a tight and seamless bond. As you progress, be mindful of any obstacles or protrusions, such as doorways or vents, and make the necessary adjustments. Finally, double-check the entire installation for any loose areas or gaps, and address them promptly.
Maintaining the Integrity: Repairing Laminate Flooring with Confidence
If your laminate flooring has experienced minor damage or wear over time, don’t worry; repairs can be done with ease. For small scratches or dents, consider using a laminate floor repair kit that matches the color of your flooring. Follow the manufacturer’s instructions to apply the repair compound to the damaged area. For significant damage, such as warped or buckled planks, consult a professional for a seamless and flawless repair. With proper care and timely repairs, your laminate flooring will maintain its beauty and integrity for years to come.
Equip yourself with the necessary tools and materials for a successful installation. Find the perfect underlayment to match your specific flooring needs with CPF Floors’ wide range of options. Master the step-by-step process of underlayment installation and repair with confidence. Trust CPF Floors to guide you through the entire journey and create a home that showcases the beauty and durability of laminate flooring.


